
Hacking of Windows 7 User Password by CMD
Commonly in Windows CMD Plays a Main role but the cmd's are difficult to memorize and Confused to Use it. But today iam going to show yo here changing of windows7 user password from cmd with Screenshot's
every system running with O.S(Operating System ) will have a user to use the system.
After Logon to the system, A user have two ways to change the password and one method is well know by User Accounts in Control pannel and another by CMD.
To set the new password to the user we must know the old password of the user account.
But Here In this tutorial iam going to show you to change the password of the user without knowing the old password,
Just in 6 steps and less than a min
Hite the windows button in the keyboard and TYPE the Keyword "CMD"

Right clck on the CMD an click on the RUN as Administrator option

c:\windows\system32\>_

Now type the cmd " net user " and hit ENTER

You can see the promt " the command executed successfully " and a List of User's will be appeared in the Right side of the CMD
Now select the user you wanted to be change the password
Here iam considering H3ll's is my User name and iam going to use it.
Type the cmd " net user username * " and hit enter

The CMD ask's for the New Password to be entered without asking the old password
Enter the desired passowrd twice and hit enter
you can watch the follownig output statement like theis
" the commantd completed successsfully"

For More tutorial www.u2no.com and please comment for this article
for any other questions mail us @ ravi@u2no.com
support@u2no.com
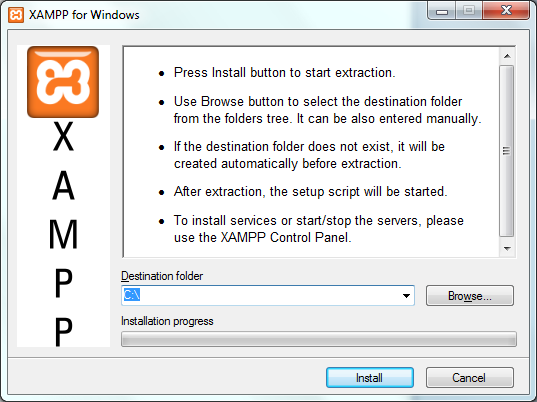
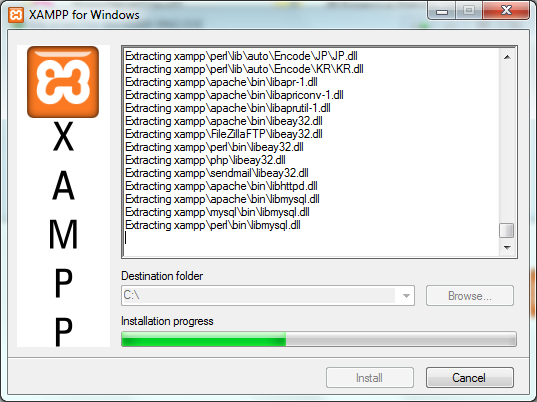
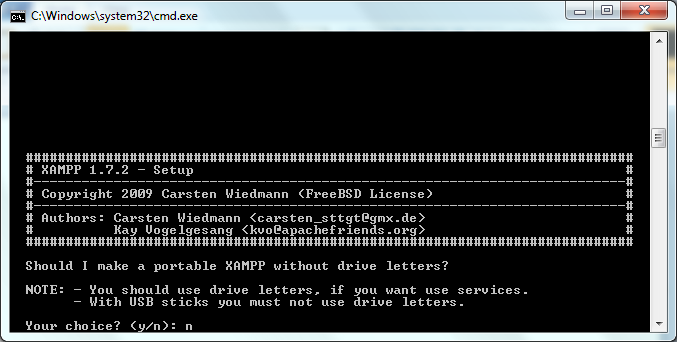
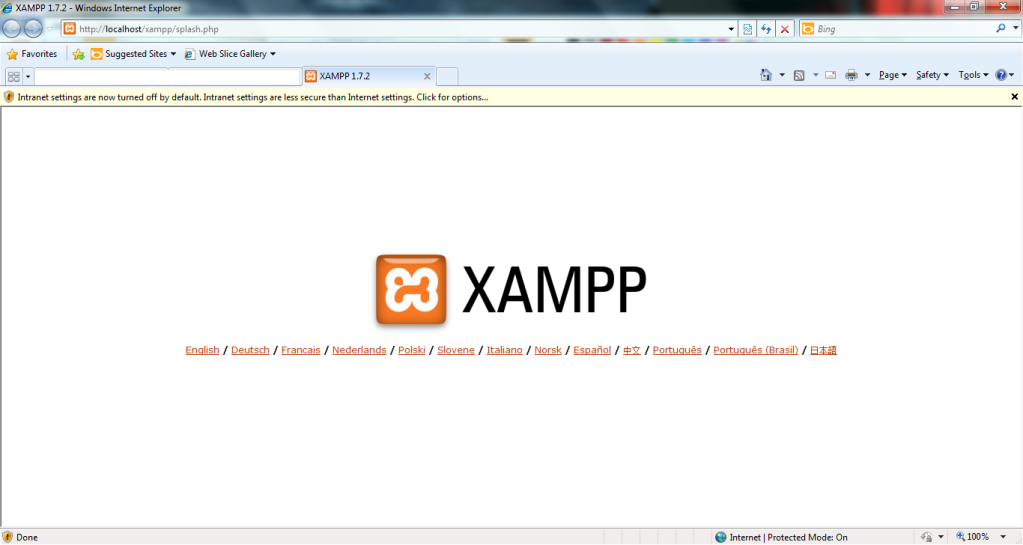
Setting a local host is very importing thing for the people working on the webservices.At most we have many ways to setting a localhost (127.0.0.1).But here we prefer for the simple tool called Xampp
optionally Wampp is also a optional tool.But here we prefer for the simple tool called Xampp.
Here we have some steps to setting a Localhost(127.0.0.1)
1.Installing xampp(click here to download)
2.Securing the Localhost


optionally Wampp is also a optional tool.But here we prefer for the simple tool called Xampp.
Here we have some steps to setting a Localhost(127.0.0.1)
1.Installing xampp(click here to download)
2.Securing the Localhost
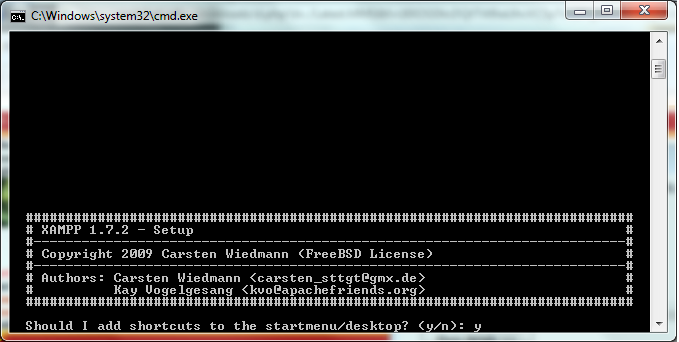
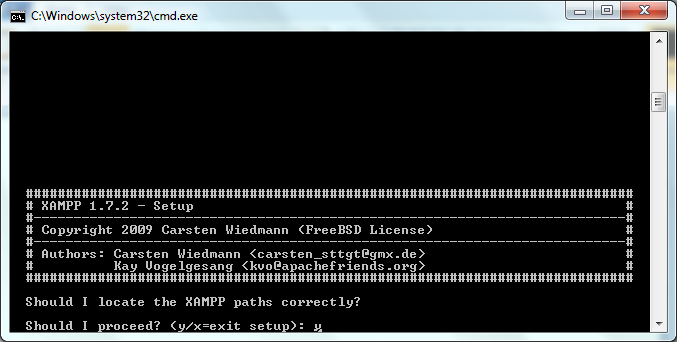
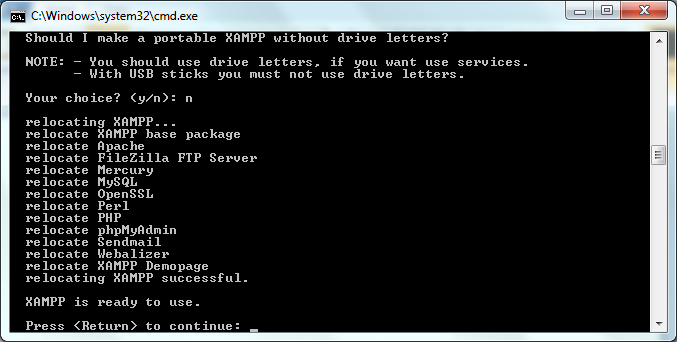
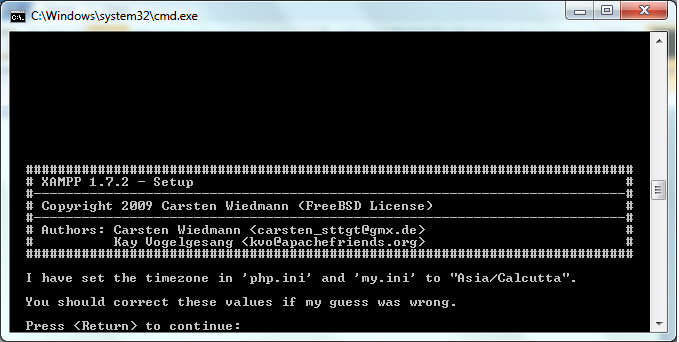

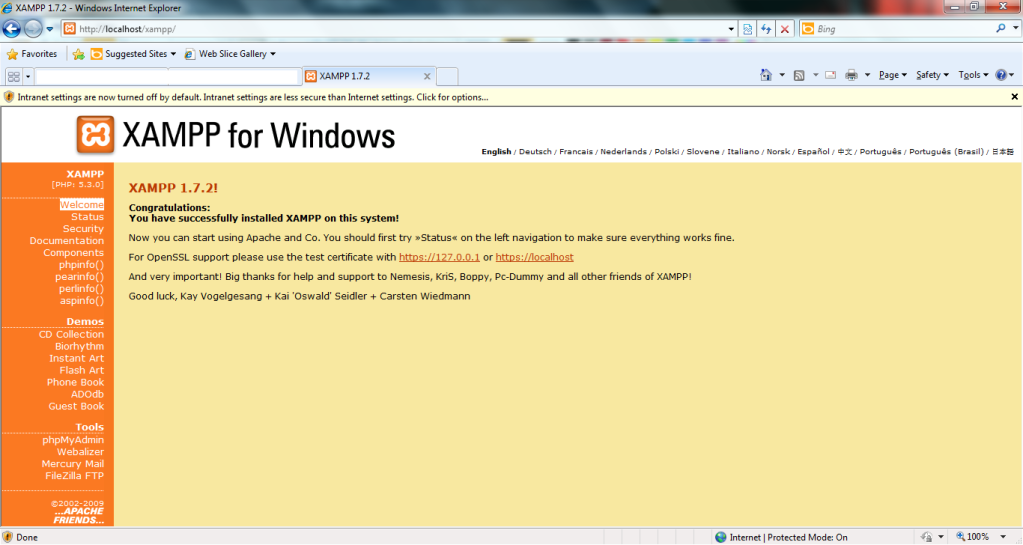
Installation of Loalhost is completd
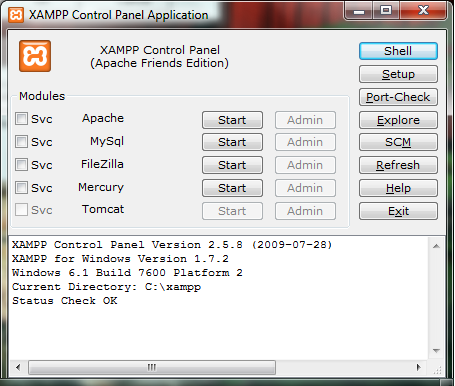
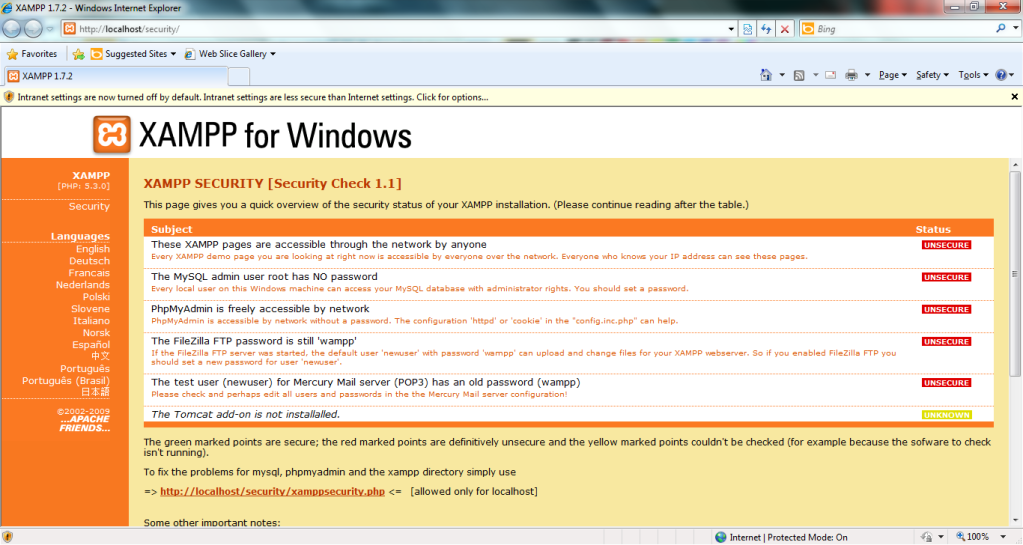
Securing the localhost must be done

Start all services and click on
Apache -> Admin
Click on the security to view the status
Click on the link below
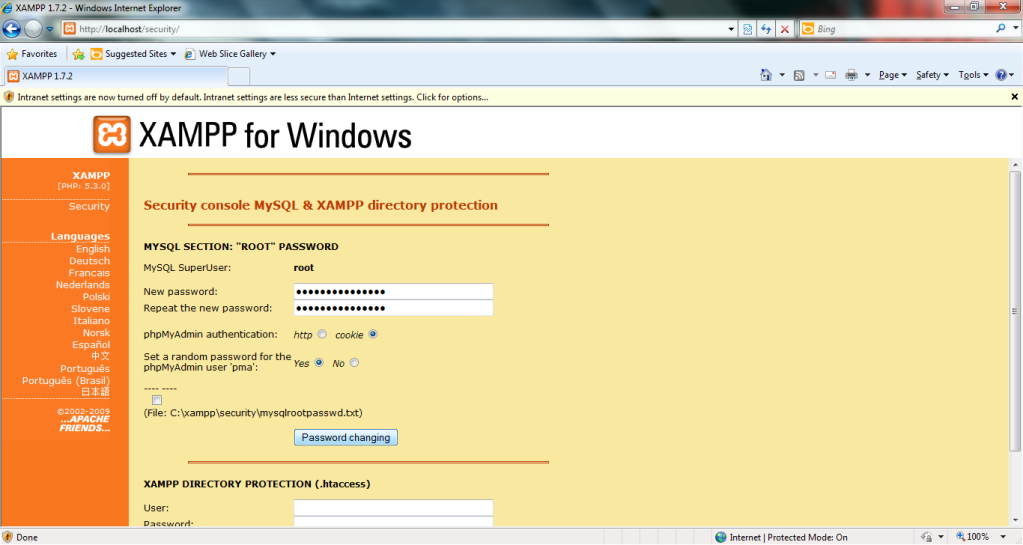
Give a new password you desired
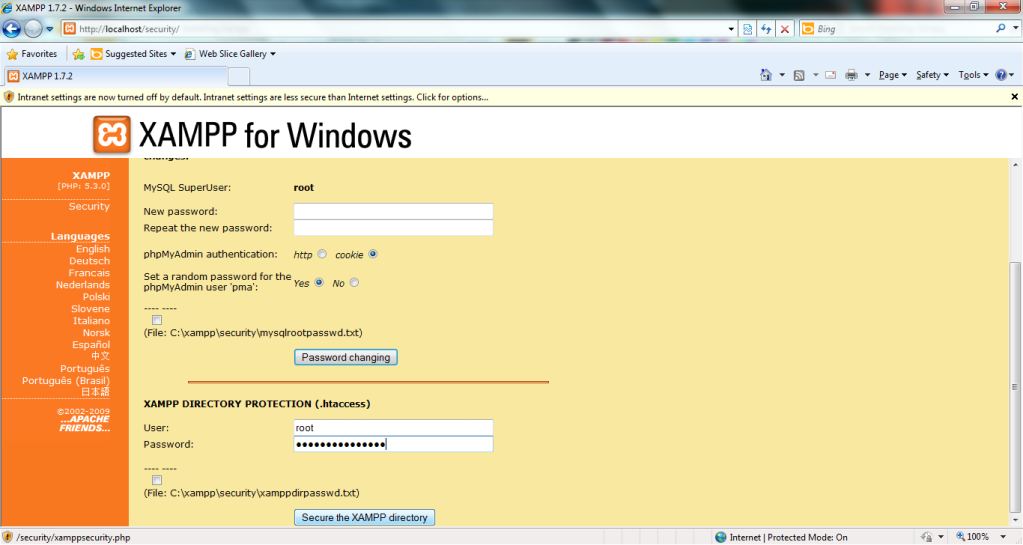
Give user name and password for folder of Xampp

Three things were secured and two remaining
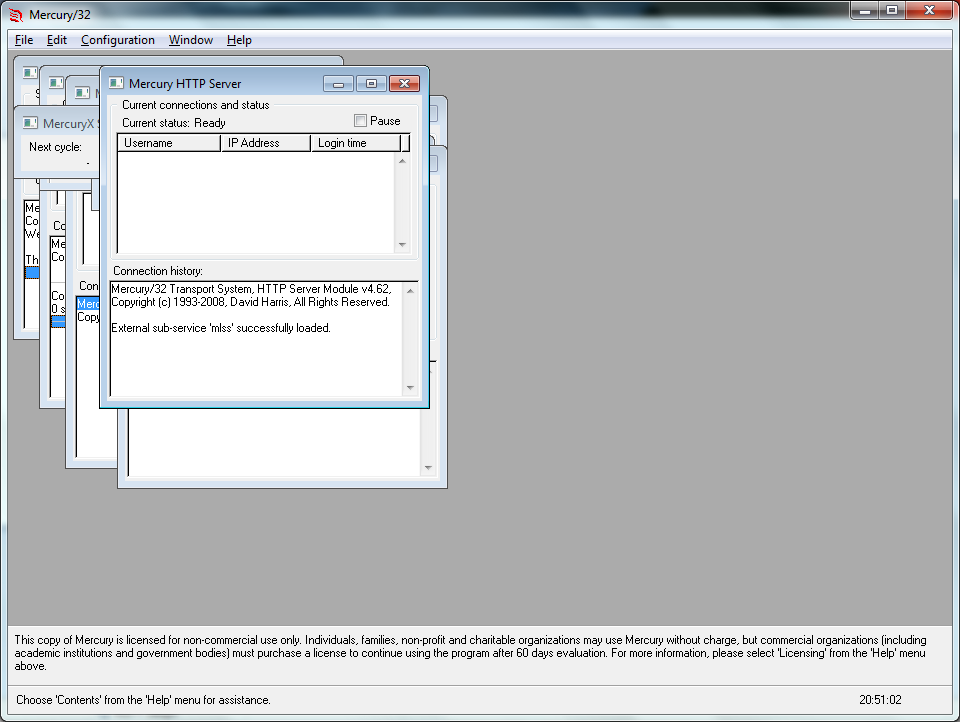
Ftp and Mercury mailserver

Go to the groups from the above menu
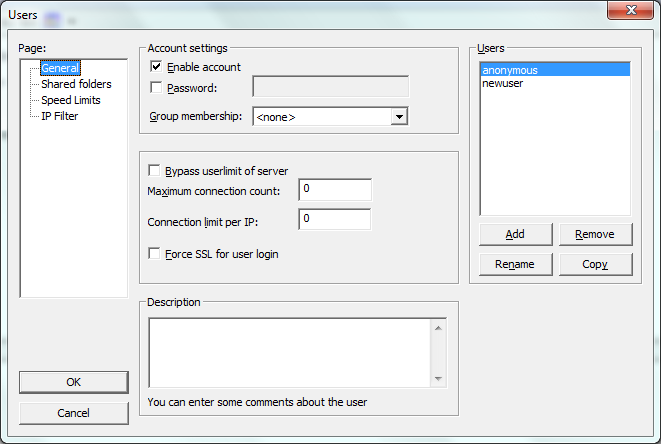
Remove the Default Users and click on Add button
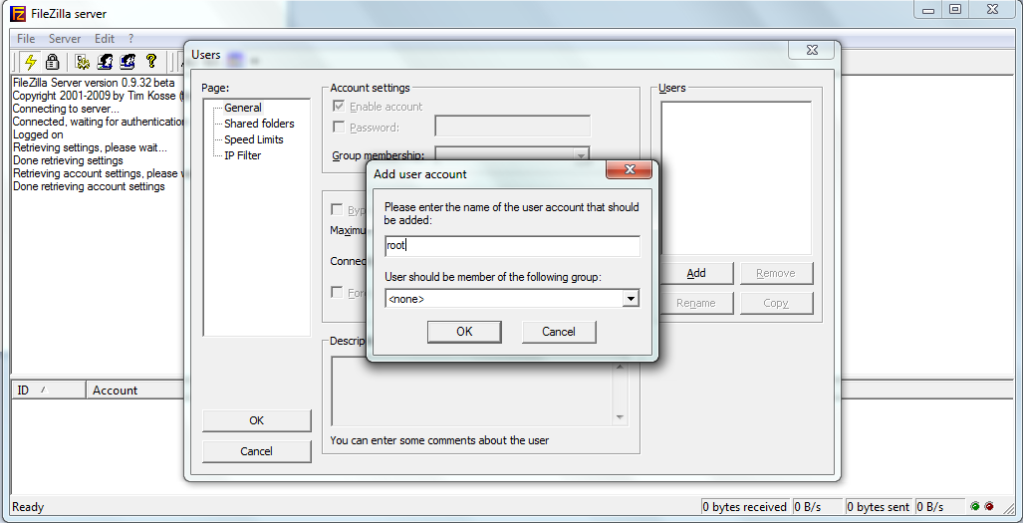
Click on ok and give ur password (optional)
give sahring of your folders u need to
Click on The
Configuration->Manage local users
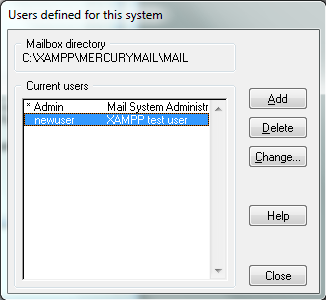
Delete the Both users and create a New user and close

Finally we created secured localhost
Making up your hard disk into slices is a very important thing.Cutting up the hard disk into parts is depended on our usage. So Here is the basic memory system remember the Memory caliculations table and make a correct caluculation for making your hard disk into slices.
8 bits = 1 byte
1024 bytes = 1 kb (Kilobytes)
1024 KB = 1 MB (MegaBytes)
1024 MB = 1 GB (Giga Bytes)
1024 GB = 1 TB (Tera Bytes)
1024 TB = 1 PB (Peta Bytes)
1024 PB = 1 EB ( Exa Bytes)
1024 EB = 1 ZB ( Zetta Bytes)
1024 ZB = 1 YB (Yotta Bytes)
So i think above table is usefull to u.Following images will explain u how to partition the hard drive
Remember to comment and join in our group to more discussions
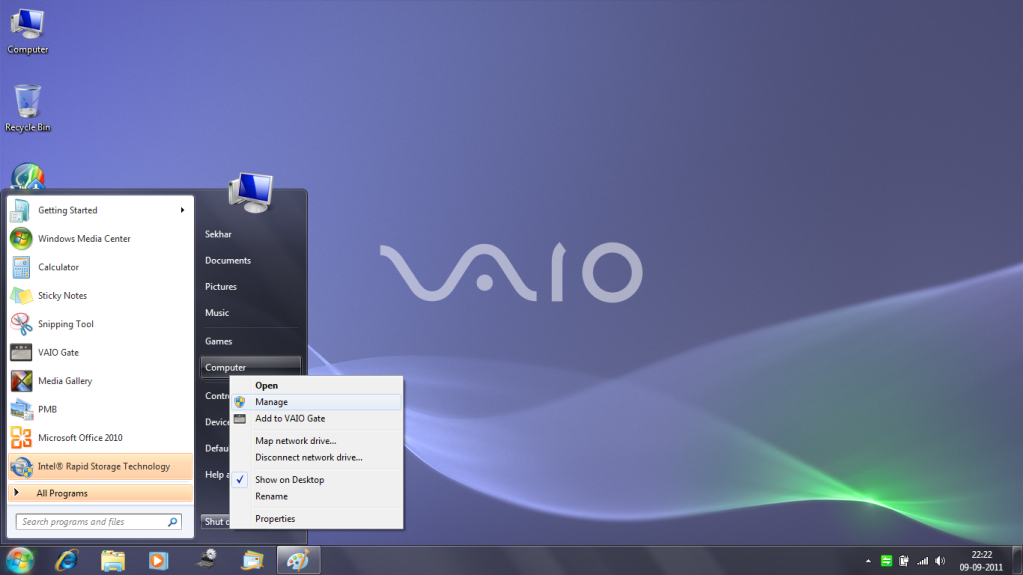
Right click on MY Computer and select Manage
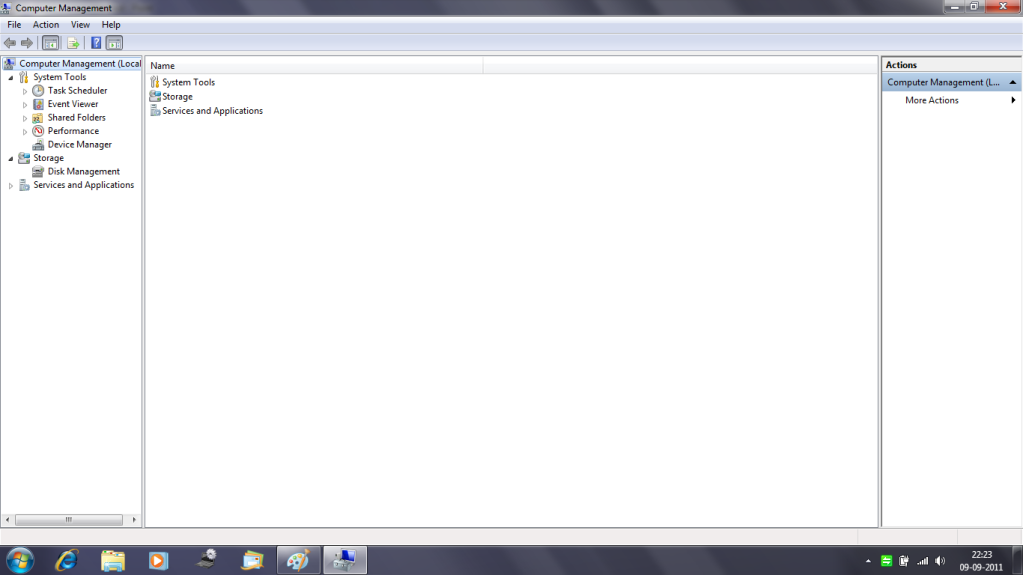
Select Disk Management on the left side down
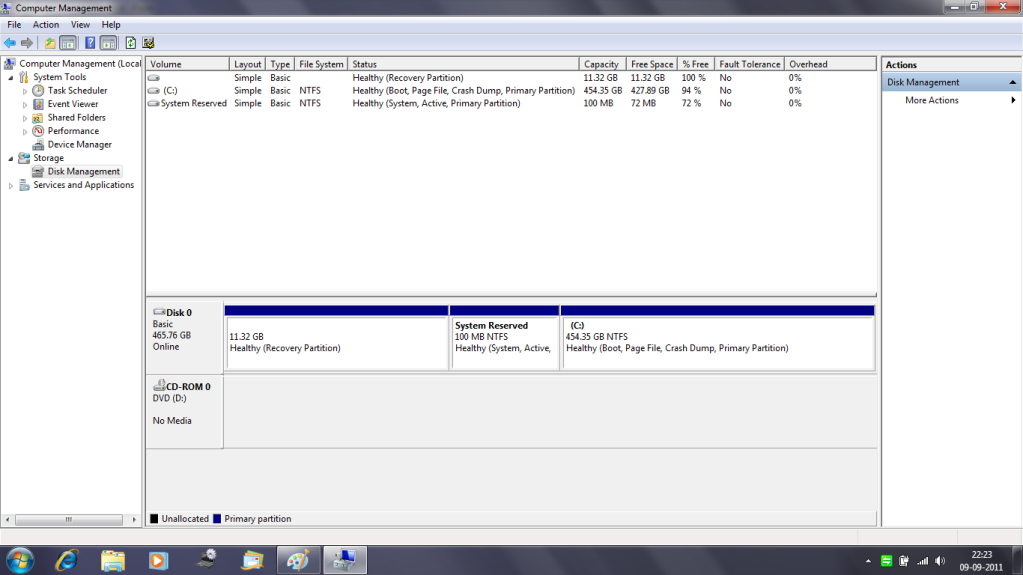
Select the partition u wanted to slice

Right click on the partition and select shrink option
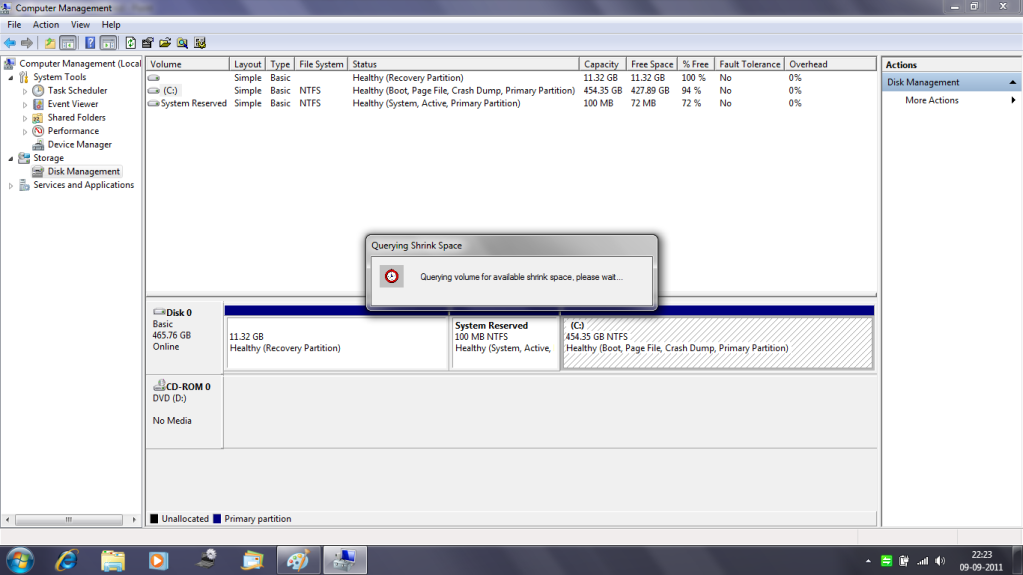
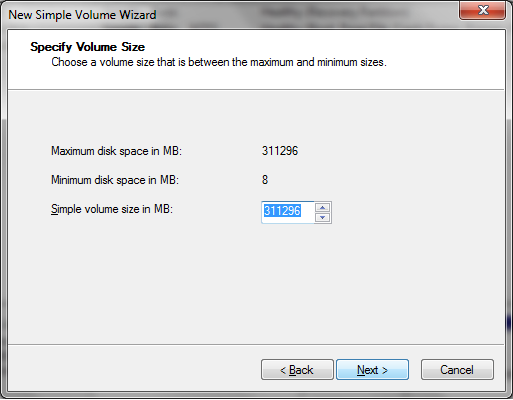
It takes a moment to shrink the volume
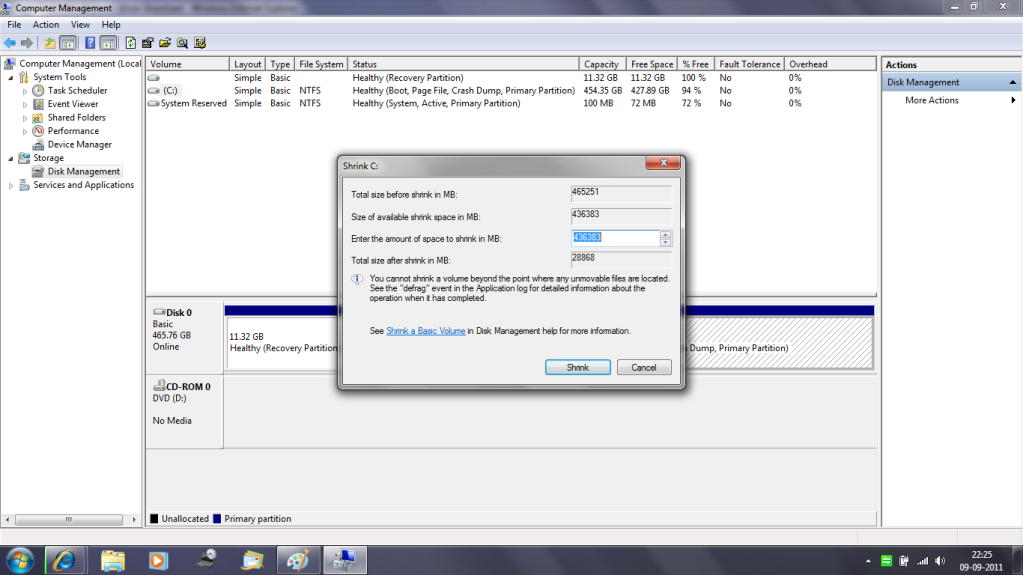
The available space to shrink will be shown
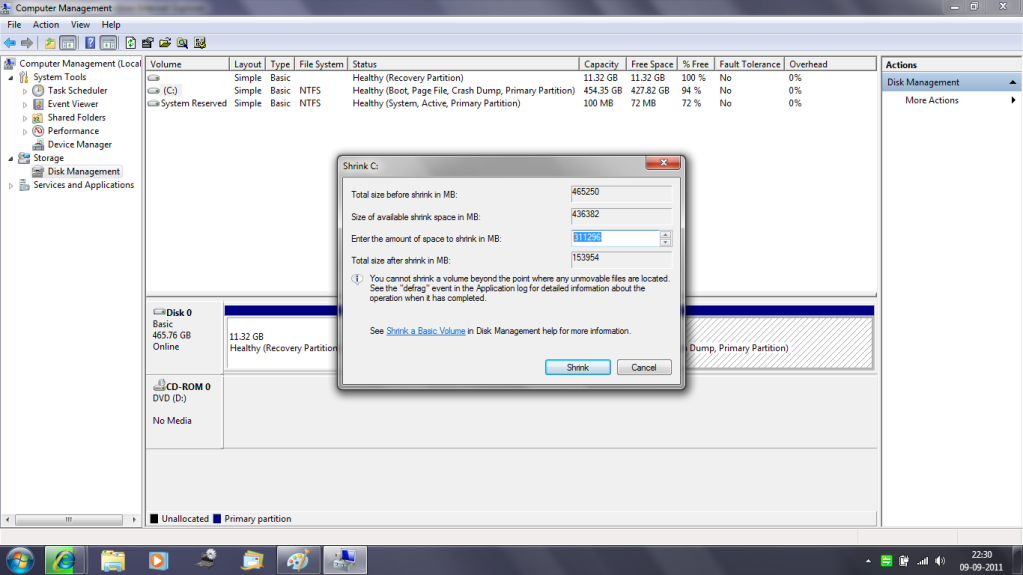
Change the Space as u need
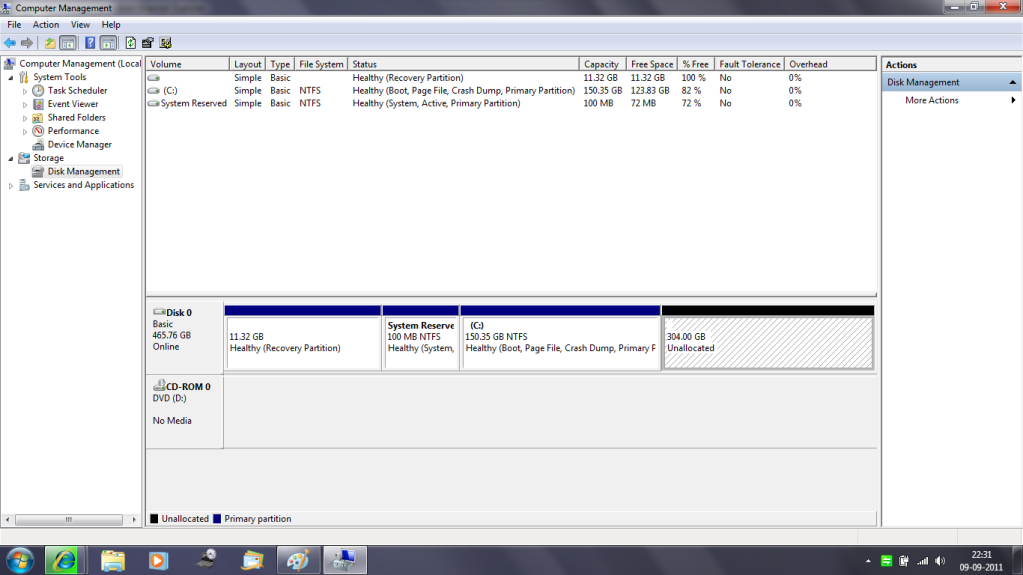
Then a new volume will be generated
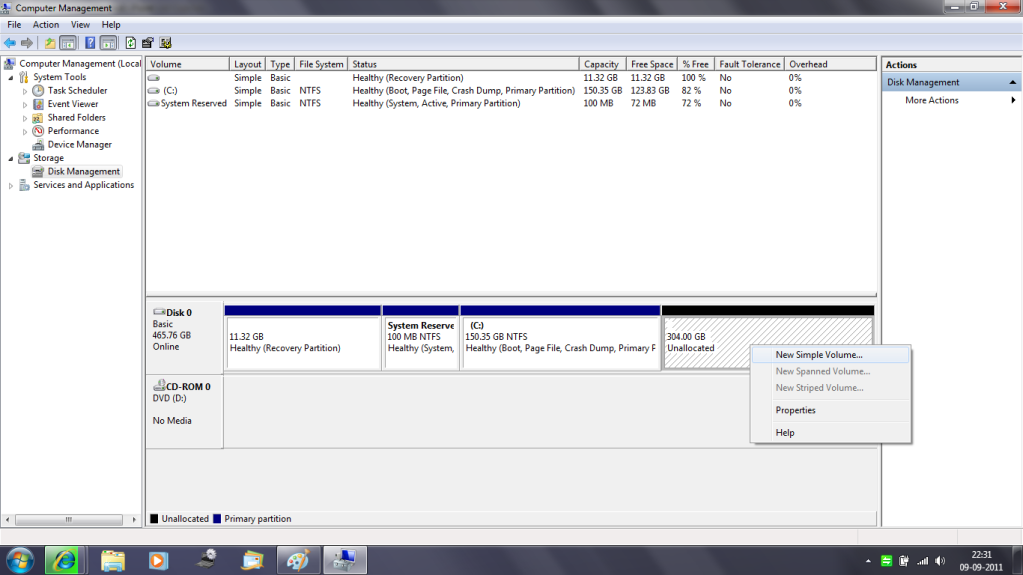
Right click on the new partition and select New Sample Selection
Not necessary to change the Default value

Assigning the letter is Done

Formatting The drive

Completed Click on the finish buton
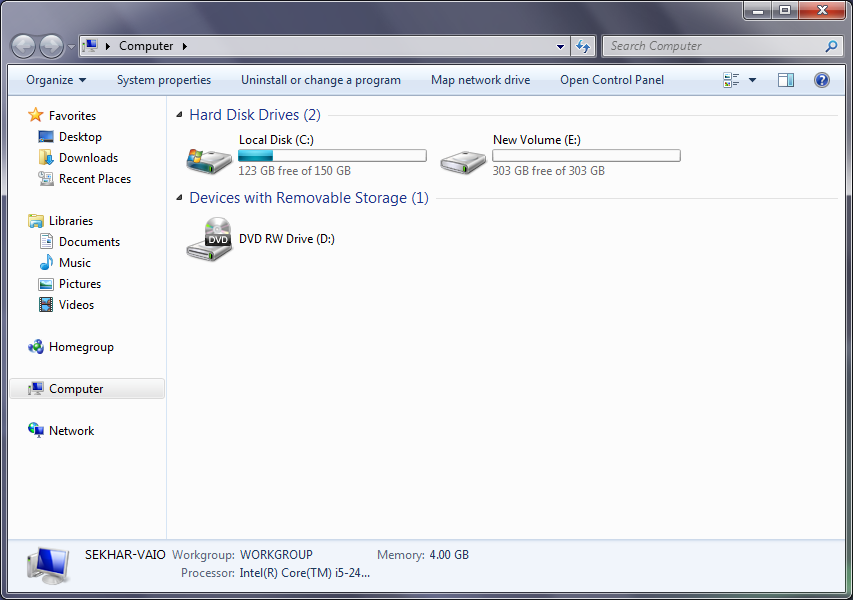
Congratutions u have done it
Please comment
For any Doubts mail us at
Suppot@u2no.com
Ravi@u2no.com
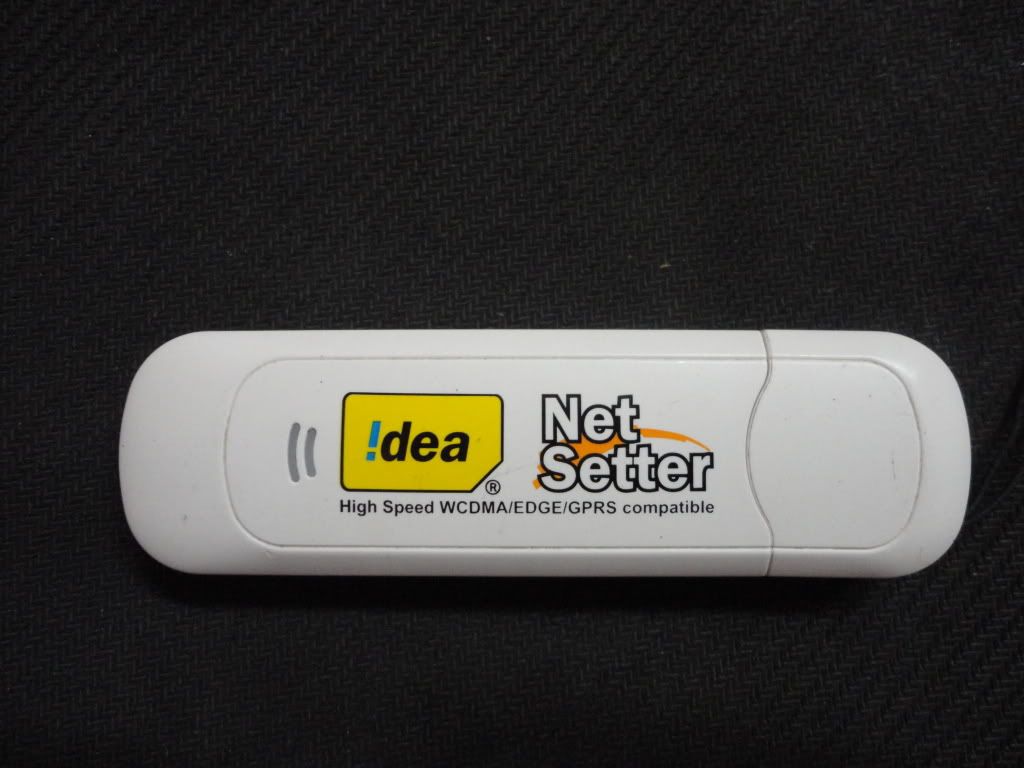
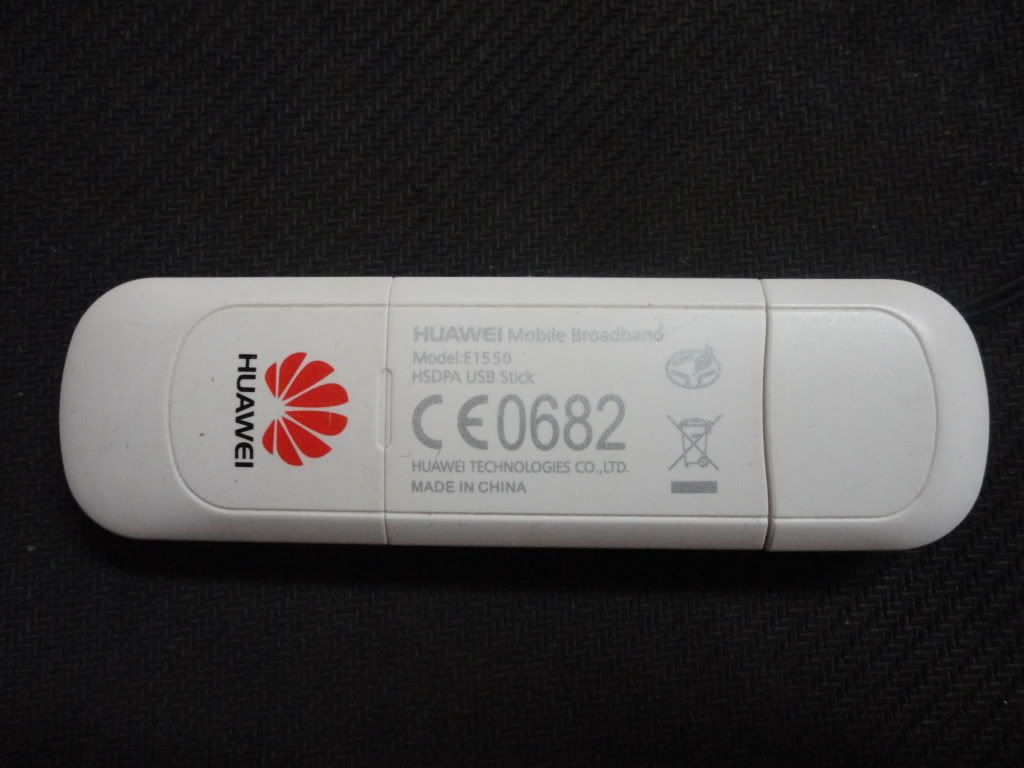
HUAWEI modem is the mostly used Wireless Mobile Broadband in allmoost all Networks
The modem is designed for the both the CDMA & GSM networks. And Here we are Using a Idea Netsetter GSM Modem.Nw we are using Tata Doomo Sim in place of Idea Sim and make it Worked
This can be made vry simple by Knowing the APN Name of that of Network we gona Use
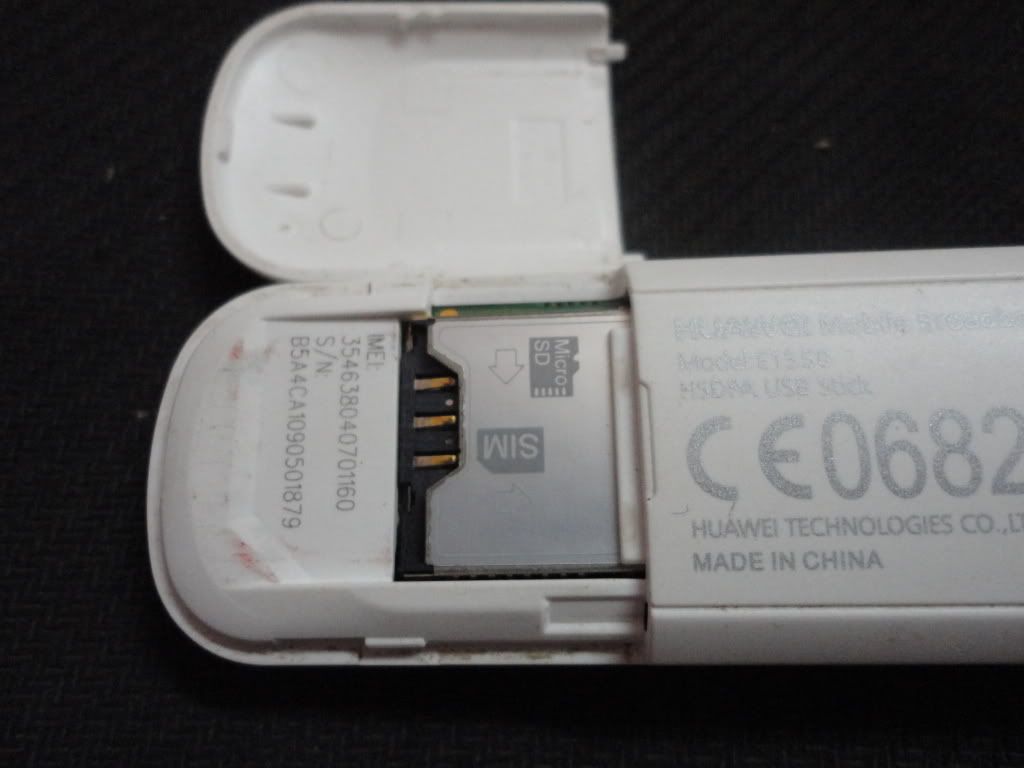
 Modem-HUAWEI,E1550


Finally we Made It You can see at bottom of the last windows of uploading and downloading speed we made it worked.
If any errors occour Please Post The APN of other networks will be posted Soon.
sThe modem is designed for the both the CDMA & GSM networks. And Here we are Using a Idea Netsetter GSM Modem.Nw we are using Tata Doomo Sim in place of Idea Sim and make it Worked
This can be made vry simple by Knowing the APN Name of that of Network we gona Use
Details of the Process:
 Modem-HUAWEI,E1550
Default Network- Idea Cellular
Used Network- Tata Docomo
Status-Working

Placing The Tata Docomo Sim in Place Of Idea Cellular


You can See default Idea connection Ignore That and Proceed to next Step
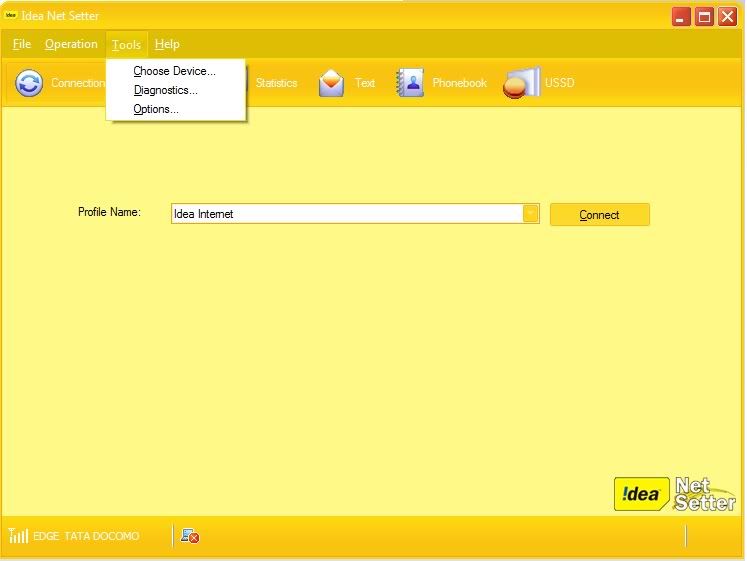
On top of the menu
Tools->Option->Profile Management
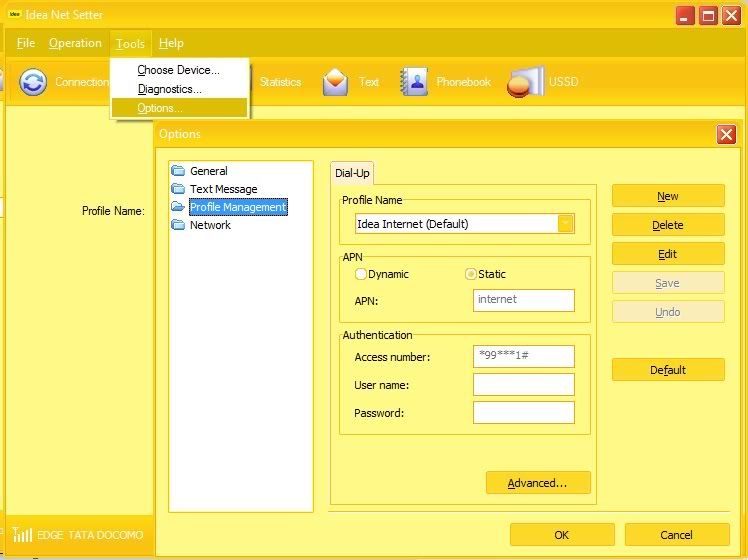
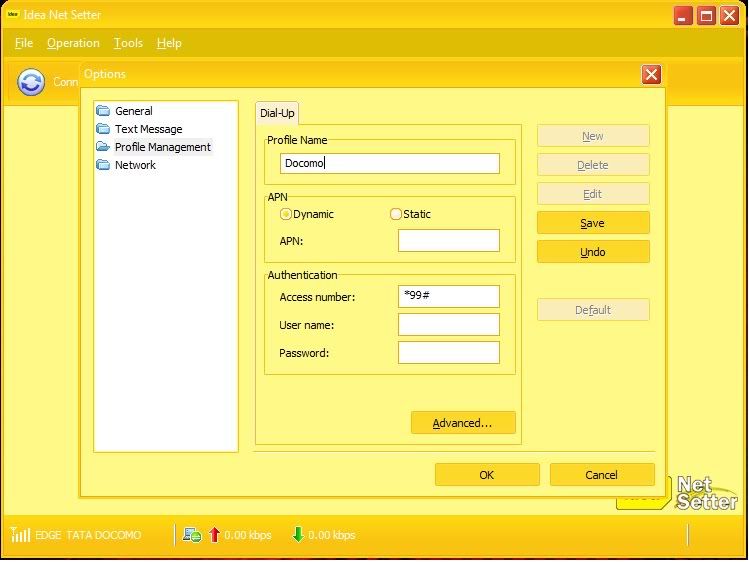
New->Enter the profile name (its your wish)
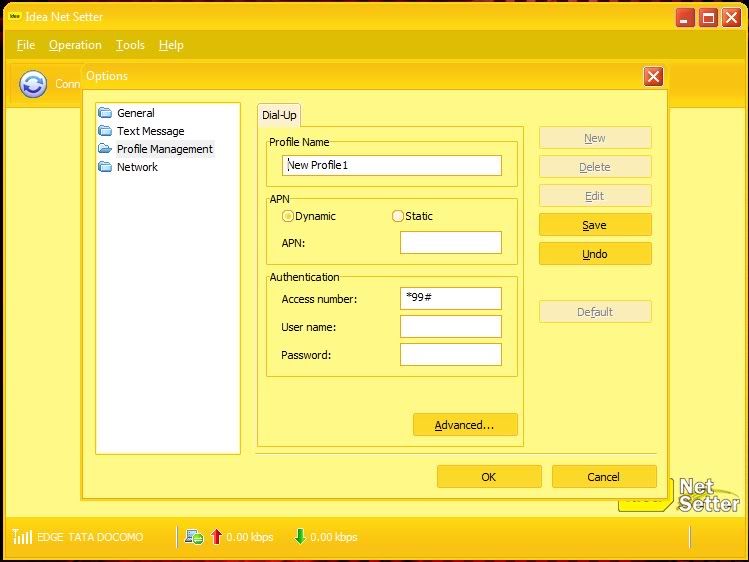
I gave The Profile Name as Docome
Changing The APN settings from -> Dynamic To Staic<-

Give APN as TATA.DOCOMO.INTERNET
Acess number Must be changed to *99***1# No UserName and Password is required Save the Settings

Now Click on the Connection on the top And click on the dropdown menu of Profile Name
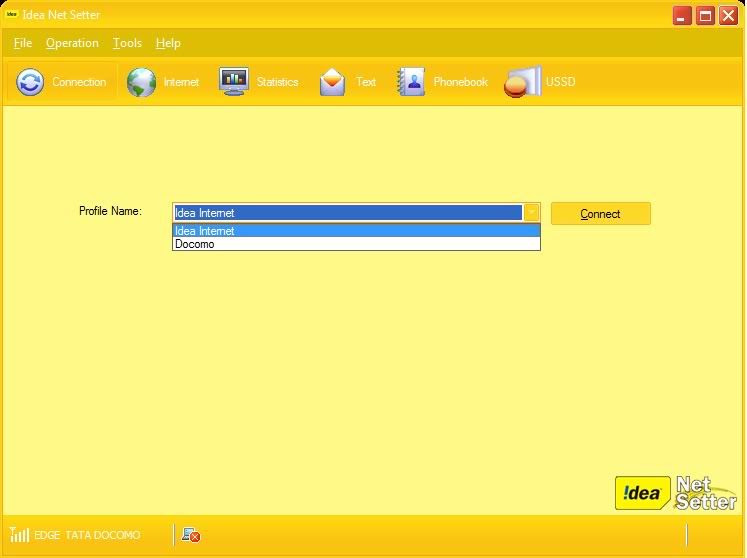
Here You can find Two settings,so we are succesfully saved the network settings,Now click on the
Your Profile(as my Profile name is docome i selected the docomo)


Finally we Made It You can see at bottom of the last windows of uploading and downloading speed we made it worked.
If any errors occour Please Post The APN of other networks will be posted Soon.


Popular Posts
-
As we know " Adobe After Effects " is a Powerful tool to create a own video and add something of own. A casual problem o...
-
 Updated Daily By H3LLT1M3 Hacking of Windows 7 User Password by CMD Commonly in Windows CMD Plays a Main role but the cmd's...
 -
HUAWEI modem is the mostly used Wireless Mobile Broadband in allmoost all Networks The modem is designed for the both the CDMA & GSM ne...
-
Setting a local host is very importing thing for the people working on the webservices.At most we have many ways to setting a localhost (12...
-
We have huge problem with social networking sites,some feel bad for that, here we have a solution for u to block a unwanted Sites like http:...
-
Making up your hard disk into slices is a very important thing.Cutting up the hard disk into parts is depended on our usage. So Here is the ...
-
Here messsess everything just you need to Follow the steps given below 1) Download The Registry Key form Here .. 2)Open the registry...


